
Fix Sunken Sprinkler Heads in Jersey Village
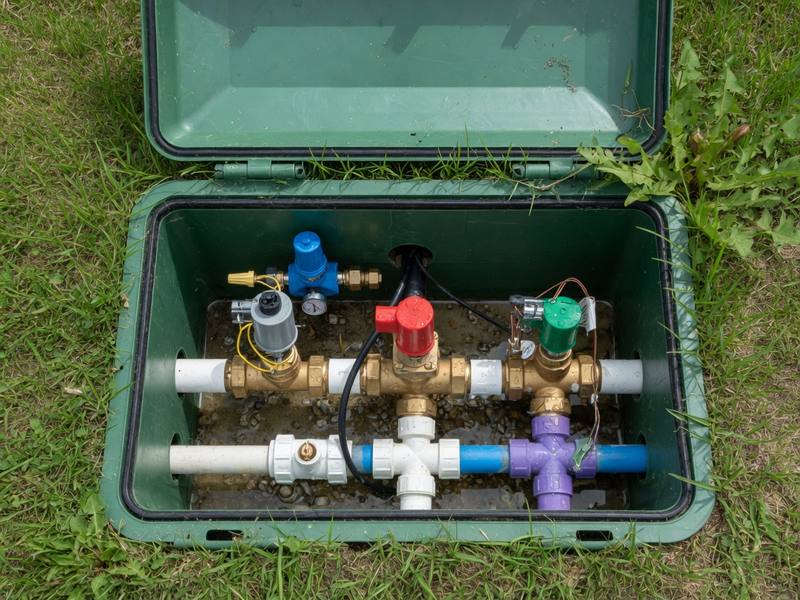
You set your timer, the system kicks on, and one corner of the yard stays bone-dry. Look closer, and you might find the culprit: a sprinkler head that has sunk below the grass or is sitting in a puddle. Sunken sprinkler heads are one of the most common irrigation problems we see in Jersey Village, and they can quietly waste water and leave brown patches behind.
The good news is that many sunken heads are simple to diagnose. Some you can even fix yourself with a shovel and an afternoon. In this guide, Jersey Village Sprinkler Repair walks you through:
- Why sprinkler heads sink or end up submerged
- How to spot the problem early
- Step-by-step troubleshooting you can try at home
- When it’s time to call a professional
By the end, you’ll know whether you’re dealing with a quick DIY fix or a deeper issue below the surface.
Why Sprinkler Heads Sink or Become Submerged
A sprinkler head should sit level with the soil, with the top flush with the ground. When it drops lower, the grass and soil around it block the spray. Water then pools around the head instead of reaching your lawn.
Here are the most common causes we find in local yards.
Soil Settling
After installation, the soil around trenches and heads keeps settling for months, sometimes years. As it compacts, the sprinkler head sinks with it. Jersey Village’s dense clay soil makes this worse. Clay swells when it’s wet and shrinks when it dries, so heads can shift every season.
Erosion
Heavy Gulf Coast storms can wash away topsoil around sprinkler heads. Over time, the ground around the head changes shape. Sometimes the head sinks. Other times, the area around it becomes a low spot where water collects after every rain or watering cycle.
Improper Installation
A head installed too deep, or without good backfill, is likely to sink. Heads connected directly to rigid pipe with no flexible swing joint also struggle. They can’t move with the soil, so they tilt, crack, or get pushed down.
Heavy Foot Traffic and Equipment
Kids, pets, delivery drivers, and lawn mowers all put pressure on the ground. A head near a walkway, driveway, or play area takes a beating. Riding mowers and trailers can push heads deep into soft, wet soil in one pass.
Hidden Leaks
Sometimes a “sunken” head is really a sign of trouble underground. A leaking pipe or fitting softens the soil and washes it away. The head sinks into the soggy spot, and the puddle never seems to dry.
In short: Most sunken heads come from soil movement or wear, but a constantly wet spot can point to a leak.
How to Tell If You Have a Sunken Sprinkler Head
Sunken heads don’t always stand out. Run your system for a few minutes and walk the yard. Watch for these warning signs:
- Dry or brown patches in the area a head should cover
- Water bubbling or pooling around the head instead of spraying
- A head sitting below the grass line, buried in thatch or soil
- Short or blocked spray, hitting grass blades a few inches away
- A tilted head spraying the sidewalk, fence, or house
- Soggy, spongy ground that stays wet long after watering
Here’s a common scenario. A homeowner notices a brown strip along the driveway. The head nearby looks fine at first glance. But when the system runs, water just gurgles around the base. The head has sunk about an inch, and the grass is choking off the spray.
Takeaway: Do a quick walk-through while your system runs at least once a month, especially after heavy rain.
Step-by-Step Troubleshooting for Sunken Sprinkler Heads
Many sunken heads can be fixed with basic tools. Before you start, call 811 to have underground utilities marked if you plan to dig more than a few inches.
Step 1: Turn Off the System
Shut off the zone at your controller. This keeps you from getting soaked and lets the soil around the head drain a bit.
Step 2: Mark the Problem Heads
Place a flag or stake next to each head that’s sunken, tilted, or pooling water. This makes it easy to find them again once the system is off.
Step 3: Dig Carefully Around the Head
Use a hand trowel or small shovel to dig a circle about 8 to 12 inches wide around the head. Go slowly. Pipes and fittings sit close to the surface, and a shovel blade can crack them.
Step 4: Inspect the Riser and Connections
Once you expose the head, look at what’s holding it up. Check for:
- Cracked or broken risers
- Loose or leaking fittings
- A rigid connection with no swing joint
- Signs of water seeping from the pipe
If you see water leaking, stop here. That’s a pipe or fitting issue, not just a height problem.
Step 5: Raise the Head to the Right Height
If the parts look good, lift the head until the top is level with the soil. You have a few options:
- Adjust a swing joint by rotating the fittings to raise the head
- Add a riser extension that threads between the head and the fitting
- Replace the head with a taller pop-up model if the old one is worn out
Step 6: Backfill and Compact the Soil
Hold the head straight and fill the hole back in. Pack the soil firmly in layers so it doesn’t settle again right away. Make sure the head stays upright.
Step 7: Clean and Test
Clear any dirt from the nozzle. Turn the zone back on and watch the spray. It should pop up fully, rotate or spray evenly, and reach its intended area. Adjust the nozzle direction if needed.
In short: Dig carefully, check for damage, raise the head to soil level, and pack the soil tight.
Myth vs. Reality: Common Sunken Head Mistakes
Myth: Just trim the grass around the head and it’ll work fine.
Reality: Trimming helps for a few weeks. But if the head sits too low, the grass grows right back and blocks the spray again.
Myth: Low spray always means the head is sunk.
Reality: Weak spray can also mean low water pressure, a clogged nozzle, or a faulty valve. If several heads in one zone barely pop up, the issue may be upstream.
Myth: A puddle around one head is no big deal.
Reality: A puddle that never dries is often an underground leak. Left alone, it can waste a lot of water and raise your bill.
When to Call a Professional
DIY fixes work well for one or two shallow heads. But some problems need trained eyes and the right tools. Call Jersey Village Sprinkler Repair if you notice:
- Water seeping from pipes or fittings when you dig
- Several sunken heads in the same zone, which can signal a larger soil or pipe issue
- Soggy spots that never dry, even when the system is off
- Heads that won’t pop up across an entire zone
- A zone that won’t shut off or keeps running
- Cracked lines or broken fittings you’re not comfortable replacing
Our team handles the full range of irrigation repairs, including:
- Sprinkler head repair for sunken, broken, or worn-out heads
- Pipe leak repair to fix leaks hidden under your lawn
- Valve repair for valves that leak, stick, or cause low pressure
- Emergency system shutoff and burst pipe repair to prevent flooding
We know how Jersey Village’s clay soil and heavy rains affect irrigation systems. That local experience helps us find the real cause quickly, so your fix lasts.
Takeaway: If the problem involves water you can’t see, more than one head, or a whole zone, a professional repair will save you time and water.
Keep Your Jersey Village Lawn Watered the Right Way
Sunken sprinkler heads are a small problem that can lead to big headaches. Brown patches, wasted water, and hidden leaks all start when a head drops below the soil line. By checking your system regularly, raising low heads, and watching for soggy spots, you can keep your lawn healthy and your water bill in check.
If you’ve tried the steps above and still have trouble, or you suspect a leak, let us take a look. Call Jersey Village Sprinkler Repair at (555) 010-2404. We take requests by phone only, with no online forms, so you’ll talk to a real person right away. Read more on our services, service areas, and FAQ to learn how we help Jersey Village homeowners.
Call 832-906-3900 Services FAQ